Enhance your email marketing, part 4: Using images in emails
Although it’s tempting to use images in your emails to make them look more visually pleasing, don’t rely on images to communicate the whole message of your emails. Why? Most email clients can block images by default, or your contacts can block image download when using cellular data. For those readers, your wonderful image-based emails would be just a white screen with very limited possibilities.
But this doesn’t mean you shouldn’t use email images at all! When you do, there are a few things you should keep in mind.
- Keep it simple. Don’t overdo it with over-the-top emails with lots of columns and tons of images. Not only will this email take too long to load, but it will also distract from the call to action.
- Responsivity. According to Hubspot, almost half of all email opens happen on a phone. And let’s not forget about tablets. By making your email images responsive, you can communicate with your clients more effectively and boost your sales.
- Hope for the best, prepare for the worst. Assume images will be blocked by email clients and that background images won’t load at all. Does your email still make sense? Can your contacts still understand the message you’re trying to say?
- Size matters. It’s understandable that you want to use high-quality images in your emails, but image size can influence the load time of your emails. Image compression is your friend! Emails will load and send faster.
- Choose the correct format. Before you choose the right image file type from all the various options, define your requirements and check the pros and cons of the most common types.
Kentico’s here to help!
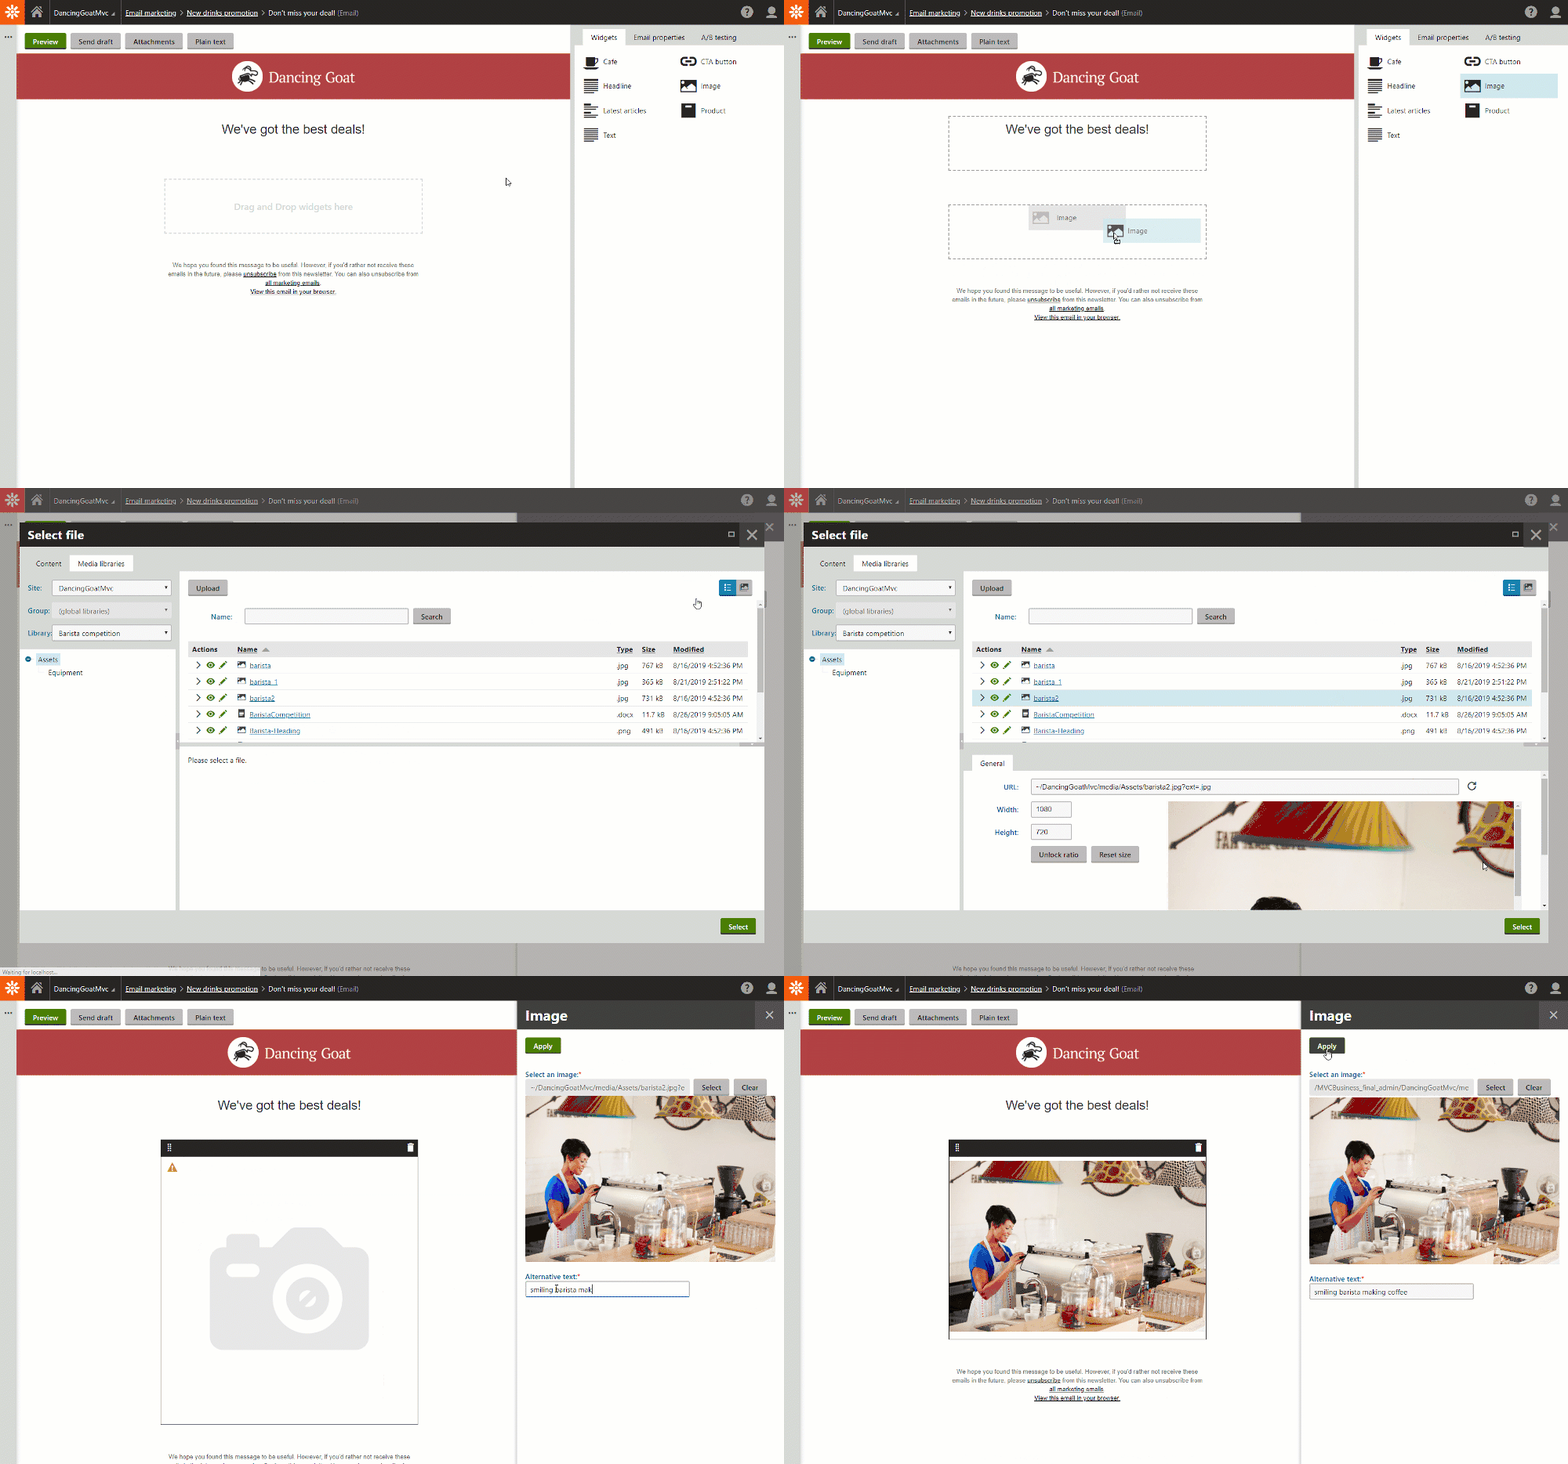
Kentico’s Email Builder is ready to assist you with your images. Our Image widget allows you to select any image from your Media Libraries.
Why Media Libraries? This application lets you store your files while enabling you to make changes to your images, such as resizing, cropping, or converting them.
By default, Kentico supports the most common file formats, but you might have to ask your administrators to add files like SVGs to the supported file extensions on your website. Once added, you can upload and manage these files in your Media Libraries.
Email images in Kentico
The Image widget in the Email Marketing application allows you to add Media Library images to your emails and almost immediately apply any changes to the images you want to make.

Although you can add virtually any image file to your emails, you should avoid elements that require Flash or JavaScript. If you need movement in your email, use GIFs, which are supported in most email clients. When you add a GIF in the Email Builder, it will be automatically displayed correctly in the browser and the Preview mode, so keep in mind that you should always test your email.
Pay attention to the alt text
Kentico also helps you with best practices for your emails, as the Image widget requires you to add alternative text before saving your changes.
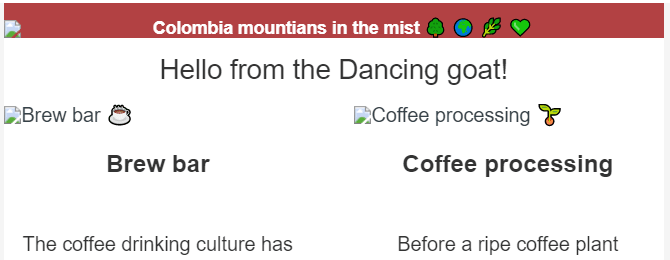
Just because your reader doesn’t see an image (because it’s blocked) doesn’t mean you’re off the hook – the image alt tag still can amaze!
Many email clients allow styling the alt text, which means your developers can help you make it stand out in the now-empty space where your image should have been. Is your audience playful? Then there are other means, too, like HTML emojis!

Optimize images for fullHD+ and Retina displays
It goes without saying that you want to make your images look their best, so don’t forget about recipients with high-DPI screens. Why?
Many mobile and desktop devices now come with high-resolution and high-DPI screens. When these contacts open an email without retina optimization, the image is blurry and pixelated. Definitely not the brand experience you want your customers to get.
Here’s a simple trick.
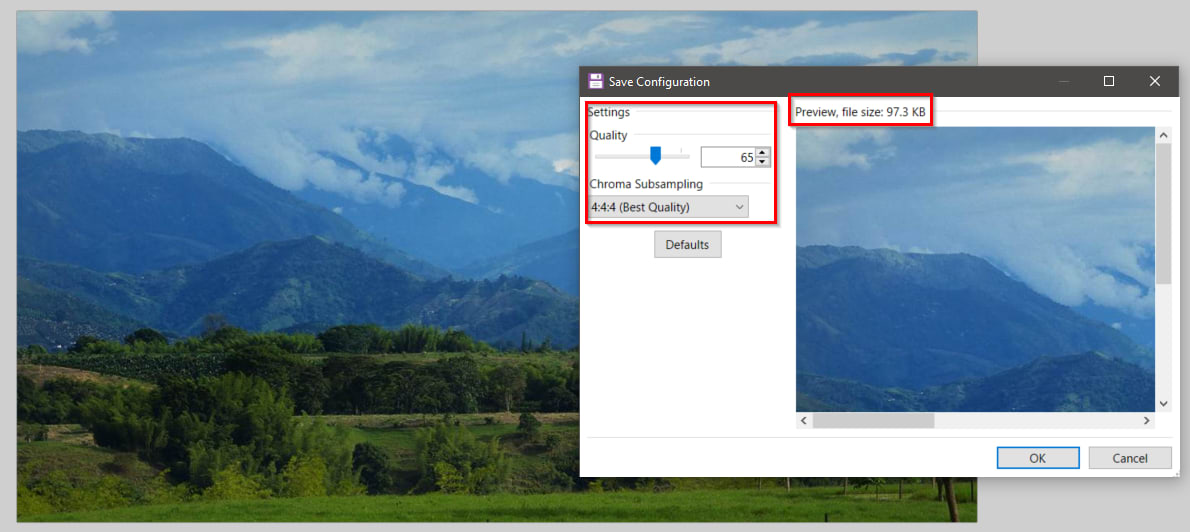
High-DPI screens have larger pixel densities, which means that standard 800x600 in web resolution images can look blurry and pixelated. What you can do is set the image to twice or three times the size, then optimize the output when exporting.
In the case of header images, we’re working with a 17+MB image of 12000x6390, which gets shrunken to a feasible file size of <100kB. The pixel size doesn’t matter because the image is confined by 600x auto-dimensions by the email code.

Improve your emails with our new email widgets
Clickable images
Now that most of us open our emails on our phones, why not make more of your email content clickable? Clickable images are a great way to invite your email recipients to your website.
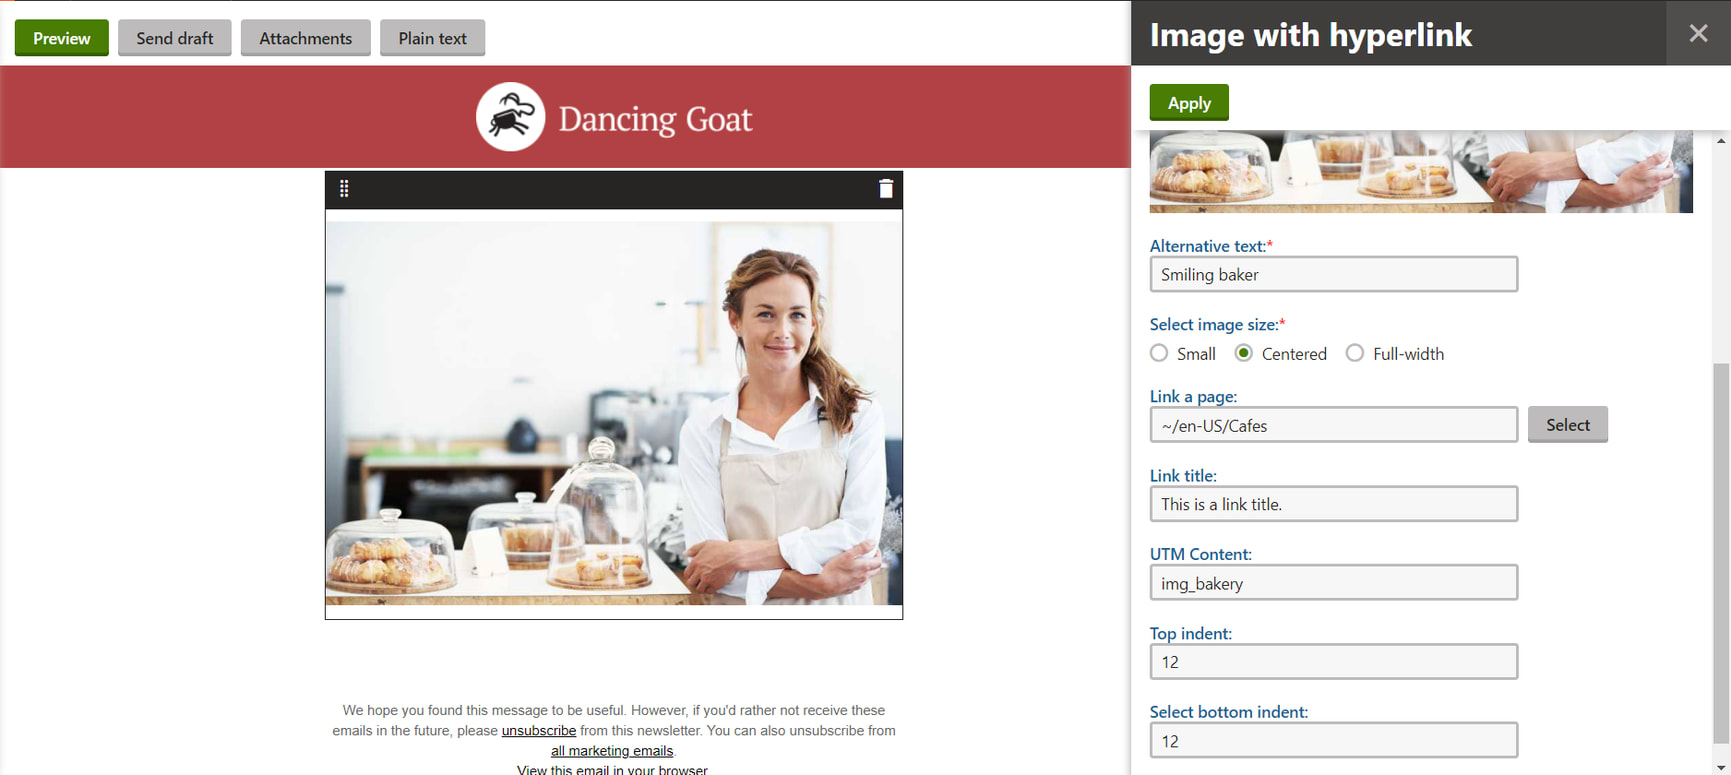
Although Kentico Email Builder doesn't have an out-of-the-box widget for clickable images, we have prepared one for you. It’s ready to be used in your newsletters – all you need to do is import it to your website and sign macros.
With this new email widget, you will not only be able to turn your images into a different kind of CTA but also adjust image size and indentation. You can easily link your image to any page on your website using the Page Selector or adding an external URL. And for easier tracking of your website traffic, you can also add UTM Content.

Full-width Header
By default, the Image widget allows you to add any image you want from your Media Libraries. The image is indented from both the right and left side by default, centering your image. Why not use all the space you're given, with no white spaces? Your image can be full-width to really stand out from the rest of the email. And that's exactly what our new email widget does.
You can, of course, add alt text or vertical indentation to your header and make it clickable, as well.

Now you know how images can influence the performance of your emails and how you can take full advantage. Don’t hesitate to try out the email widgets we’ve prepared and benefit from the little aspects that can make a big difference.
Hands-on: Add a new email widget
Do you want to experience the widgets we discussed in this article first-hand?
- Sign up for a trial version of Kentico.
- Go to the Sites application and use the Import sites or objects button.
- Use the default values in the Wizard and import the email widgets into your trial website (make sure DancingGoatMvc is selected in step 2).
- Go to the System application and open the Macros tab. Then, select Signatures and check the Sign all macros box. After you update your macro signatures, the imported email widget will appear.
- Go to Email templates, select the template you want to test the widget on, and add the widget in the Available widgets tab.
Katarina Vargova
Posted: Thursday 09 April 2020